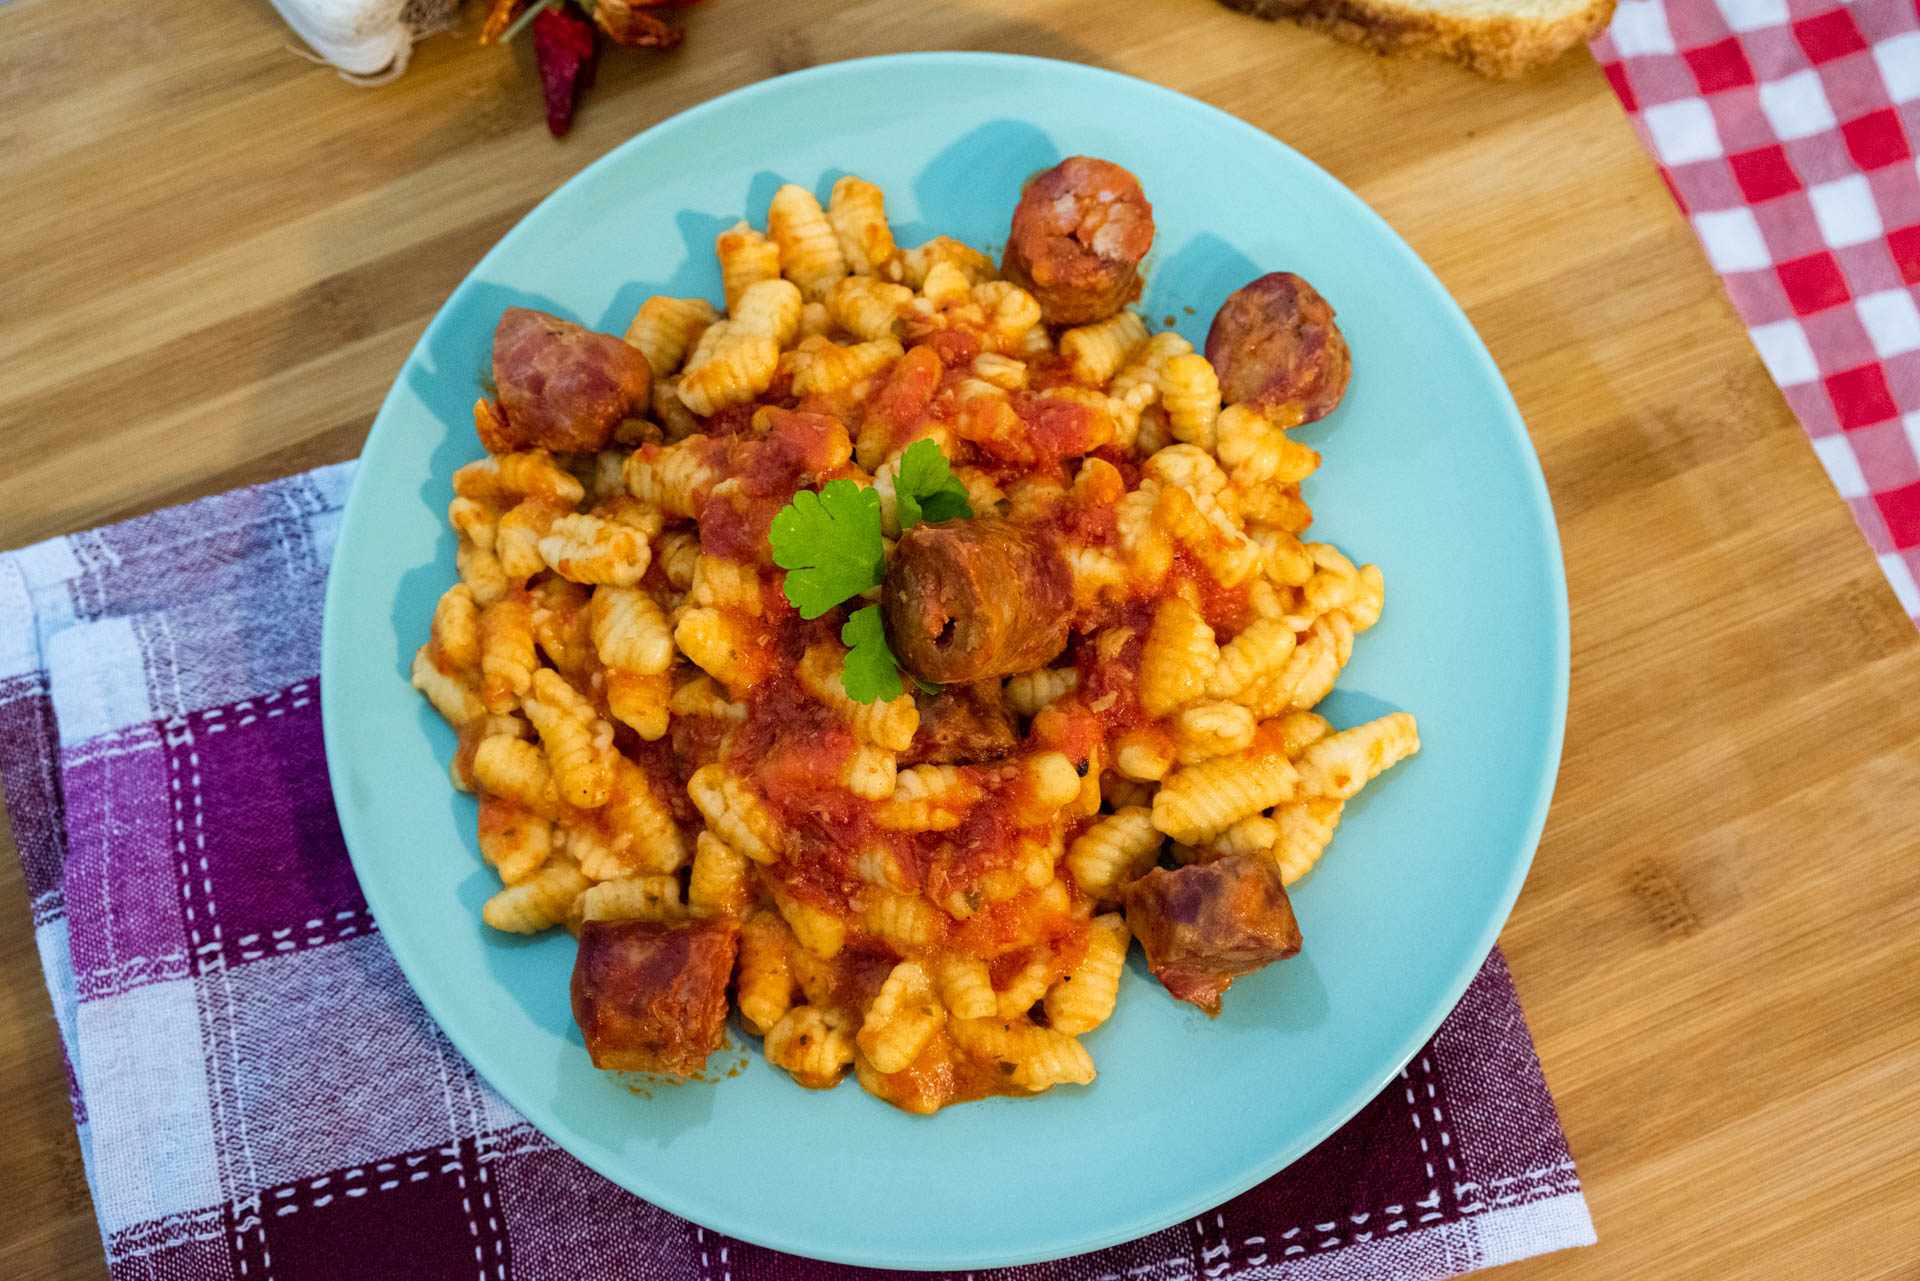
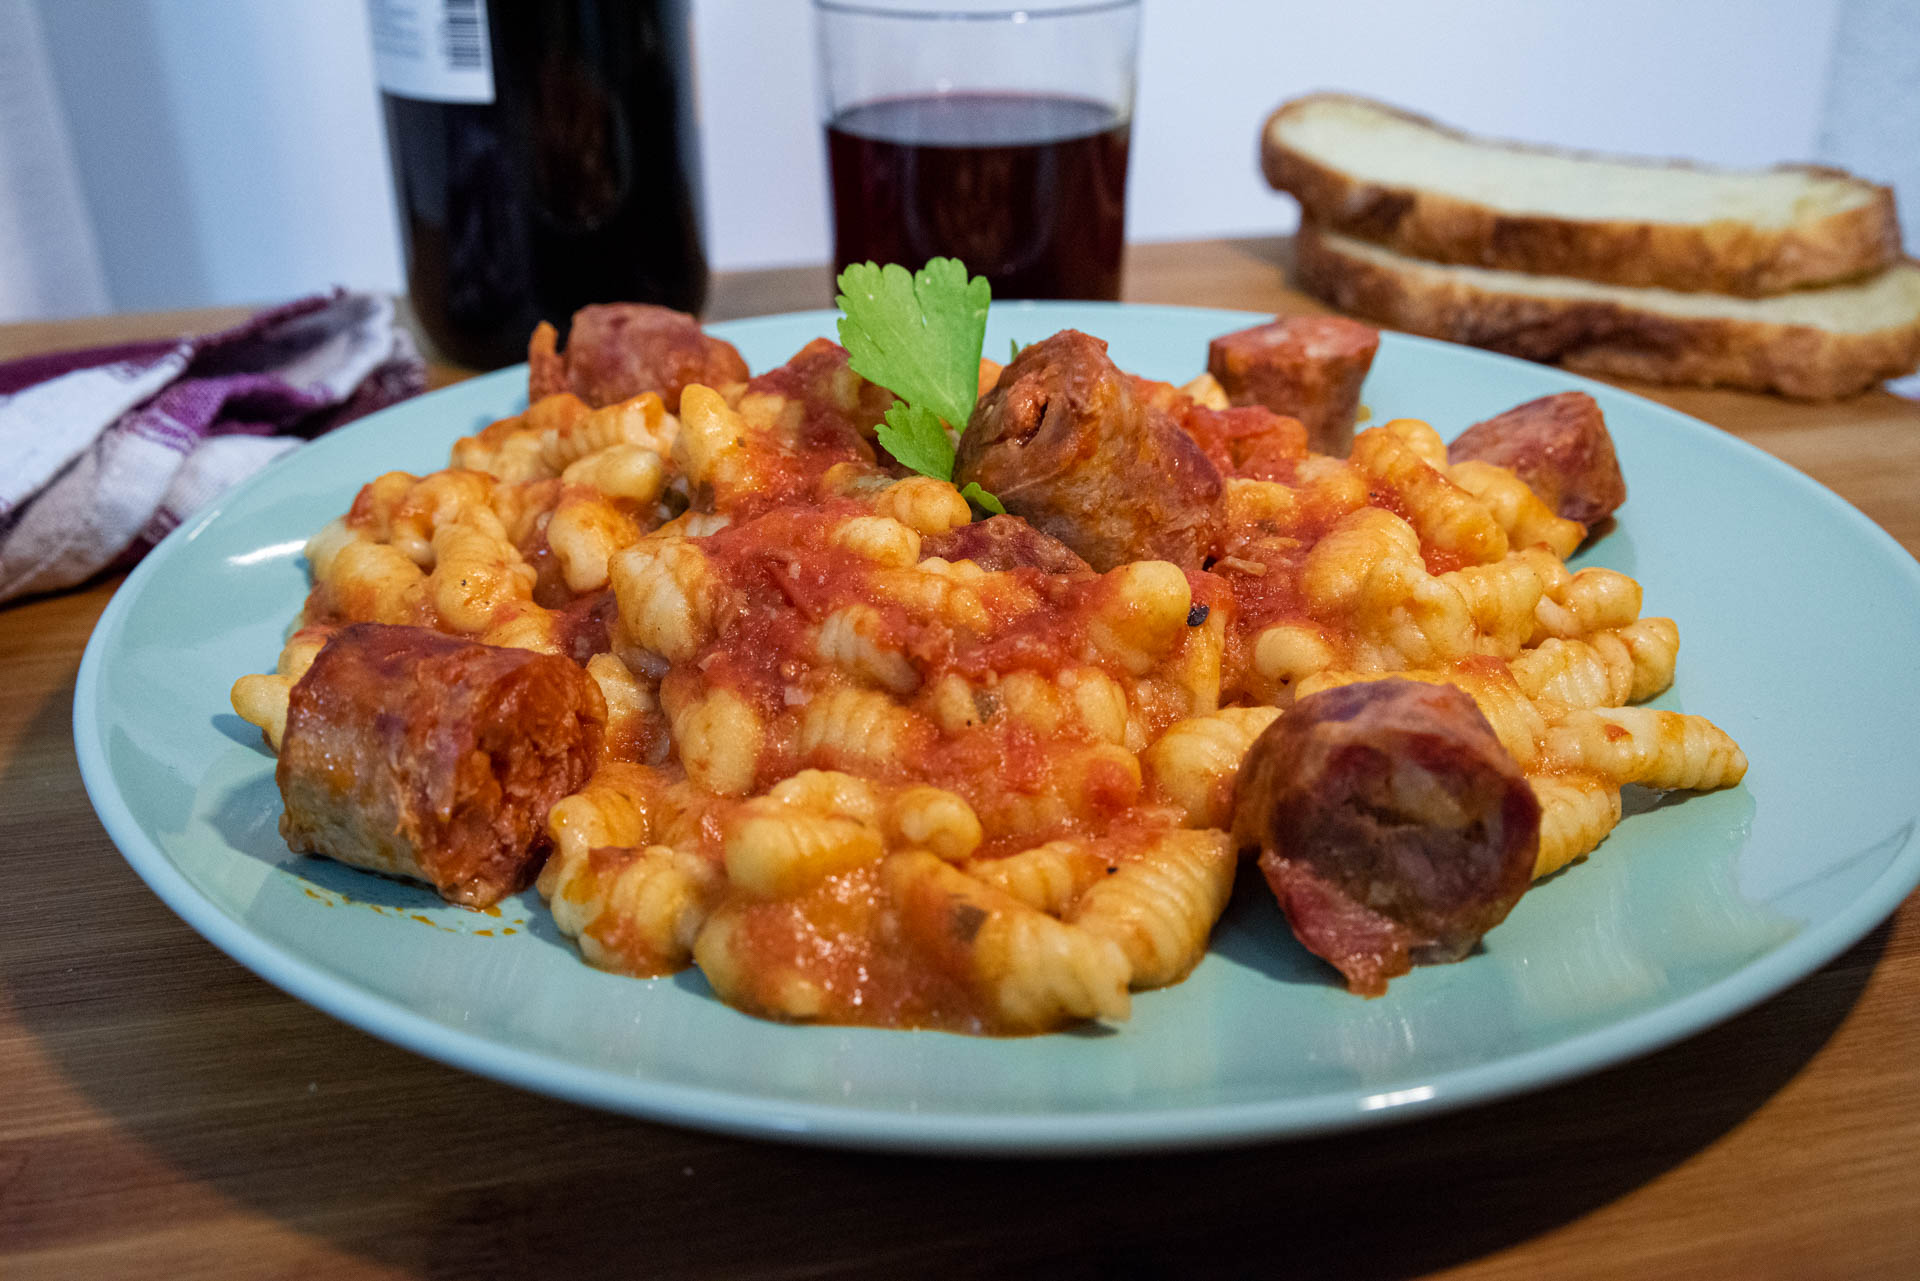
Sardinian gnocchi with wild boar sausage ragu
Ready in
2h 40 min
Preparation
2h 30 min
Cooking
50 min
Portions
5 Person
Cost
medium
difficulty
medium
Curly cavatelli with ragout
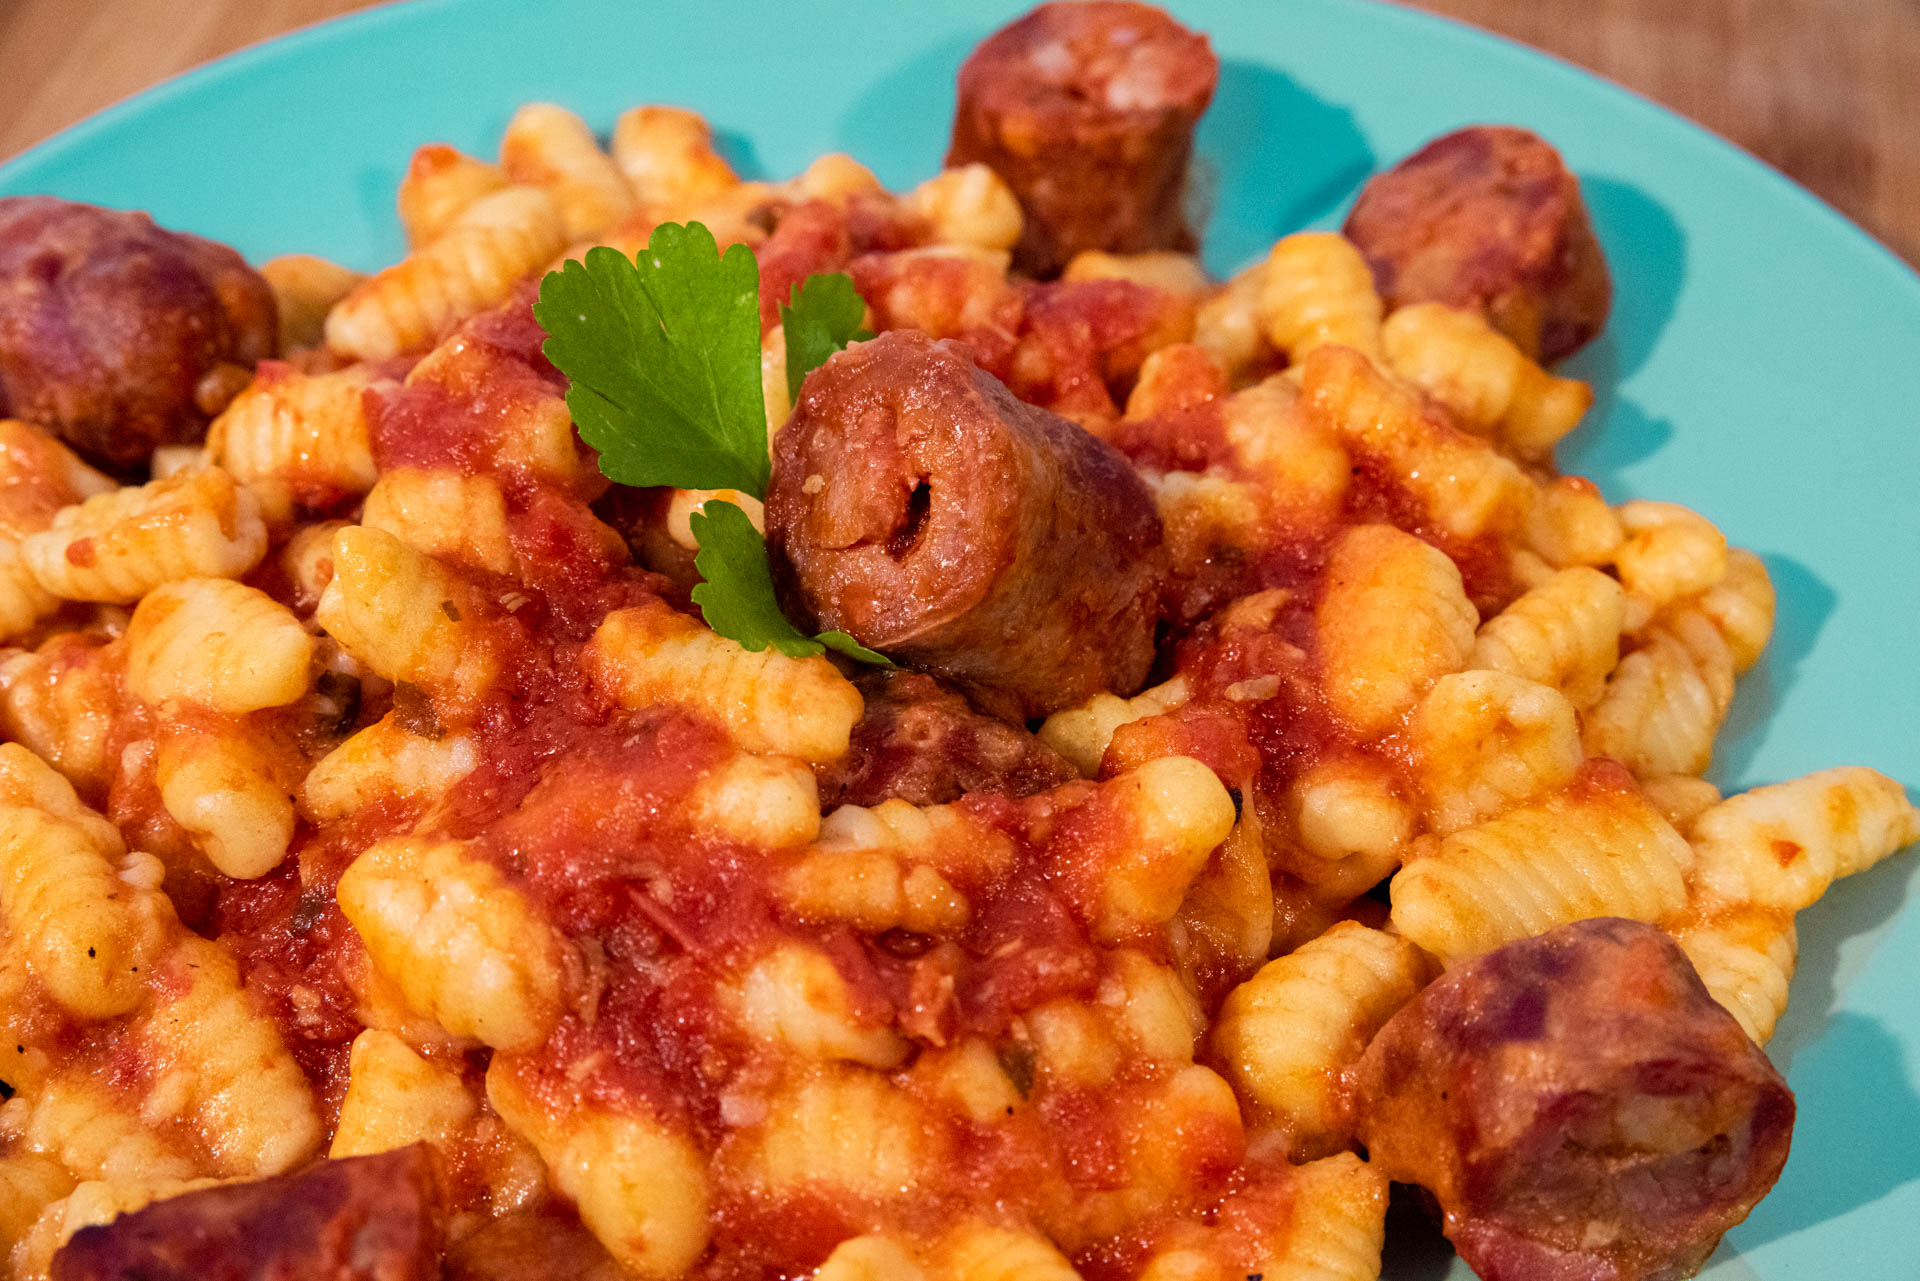
Sardinian gnocchi with wild boar sausage Ragu
On Sundays and on holidays, it is usual in Cilento to prepare pasta at home, but before going to work, think of ragu, the main condiment of fresh pasta, of which Nonna Claudia reveals the secrets in the dedicated recipe. The ragù with wild boar sausage, simple and tasty, goes very well with cavatelli and cortecce, if you want to impress guests, a wrinkled pasta that absorbs the sauce well and that enhances its fragrance will be right for you. The Sardinian gnocci with wild board ragu which are called “Cavatielli Ricci” in Cilento will be the ideal format. The porosity of the Sardinian gnocchi and the intense aroma of the sausage make this dish a winning combination.
Ingredients
Dough
- 500g re-milled semolina flour
- 2 eggs
- 230ml room temperature water
Ragu
- 1 Kg peeled tomatoes
- 500g half-aged sausage
- 1 clove of garlic
- j.e. salt and black pepper
Follow Us


Directions
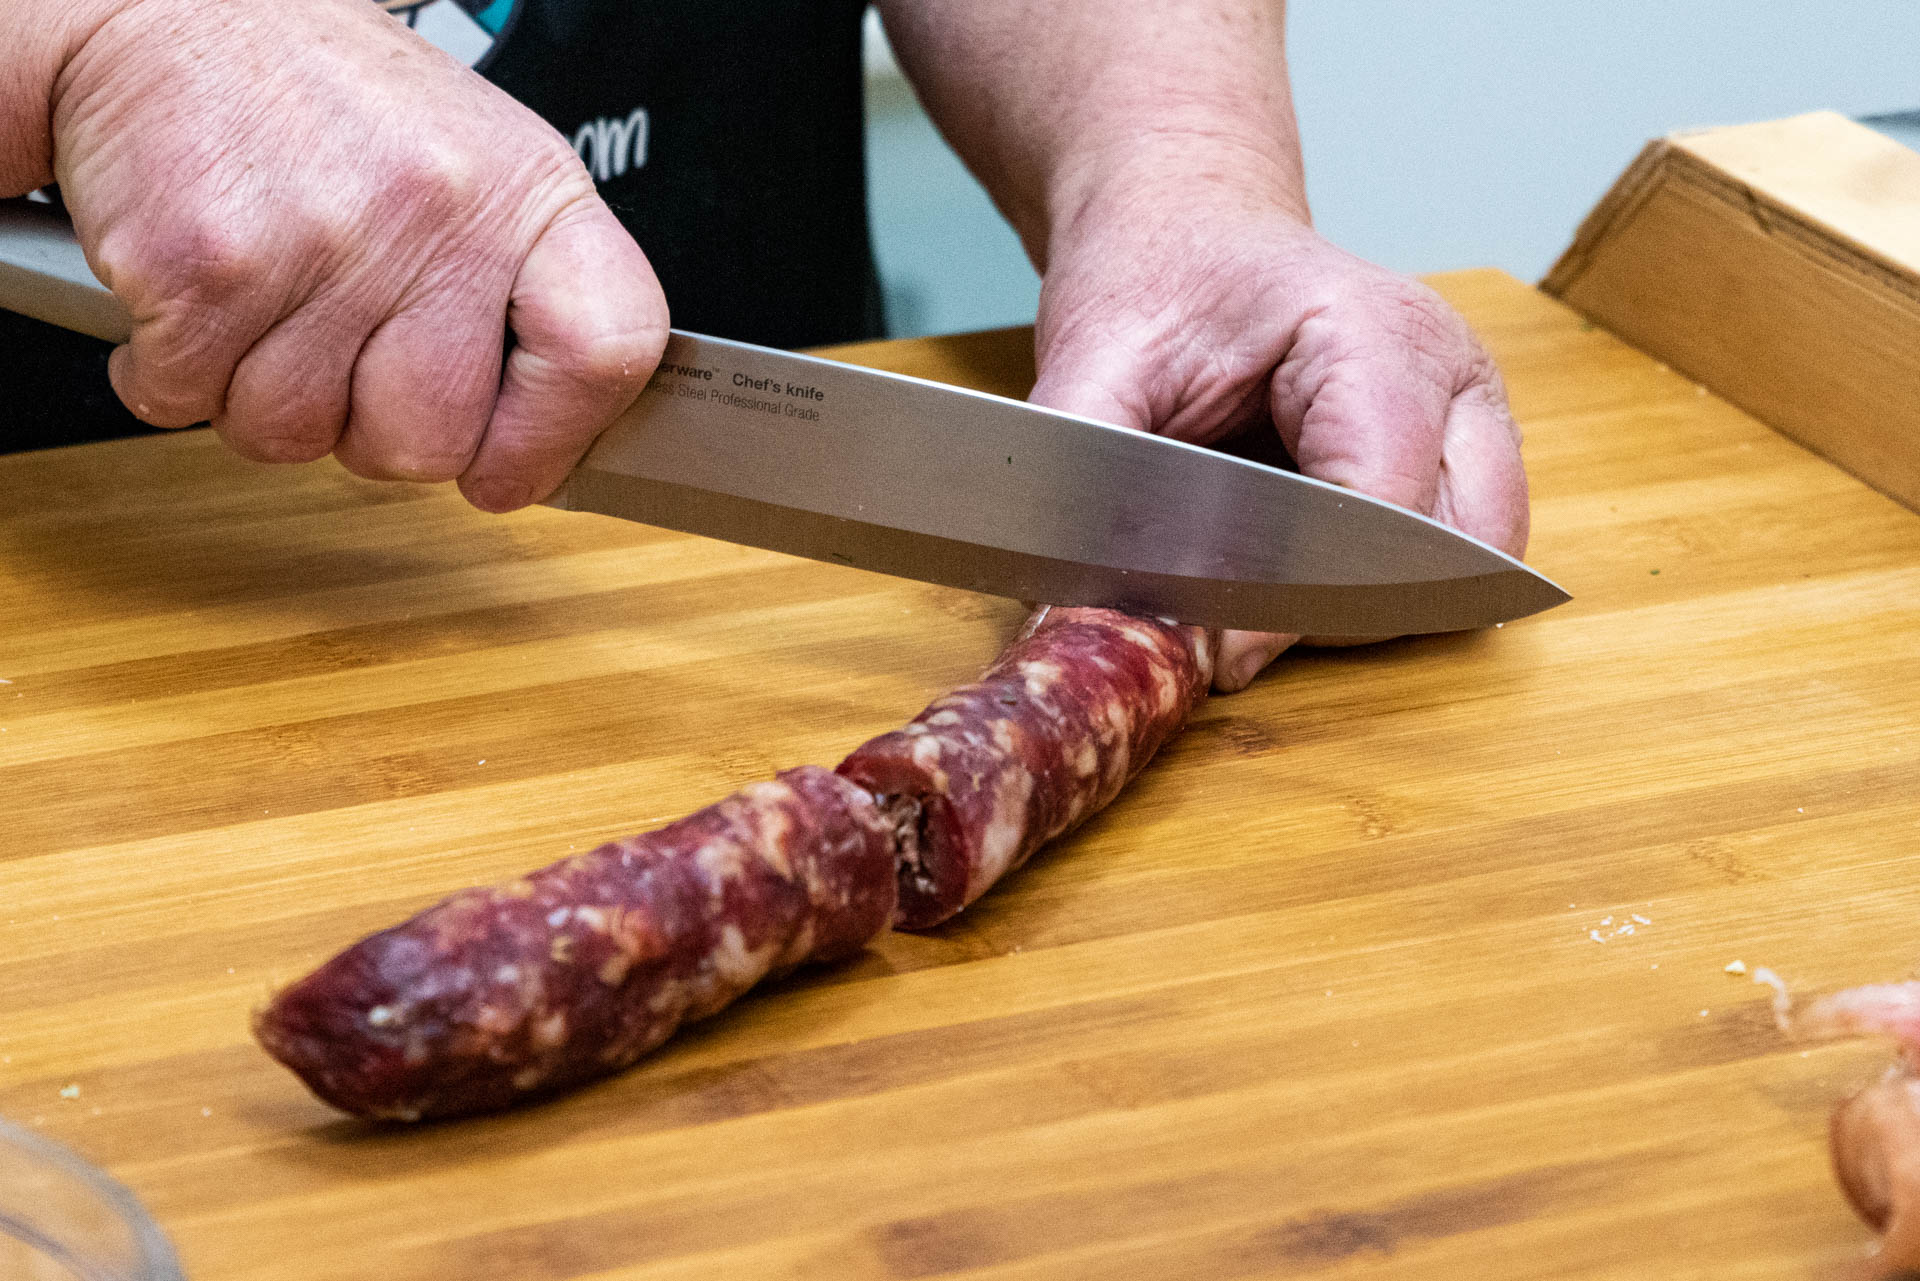
First we prepare the tomato, pass the tomatoes with a vegetable pass or an immersion blender. Now take the sausage, wash it, peel it and cut it into several pieces

Peel and finely chop a clove of garlic, then wash, dry and chop the parsley. Then, pour the oil into a large saucepan, put the garlic, parsley and a pinch of salt and pepper in it, fry for 5 minutes over moderate heat, stirring occasionally
We add the tomato puree by pouring it into the center of the pot and after a minute we also add the pieces of sausage


When the sauce begins to boil, put the lid on and cook on a low heat for about 1 hour and 30 minutes, stirring occasionally. When the sauce is thickened it is ready to use
Now let’s start making the pasta by pouring the semolina flour on a pastry board or in a large bowl and making the classic fountain *

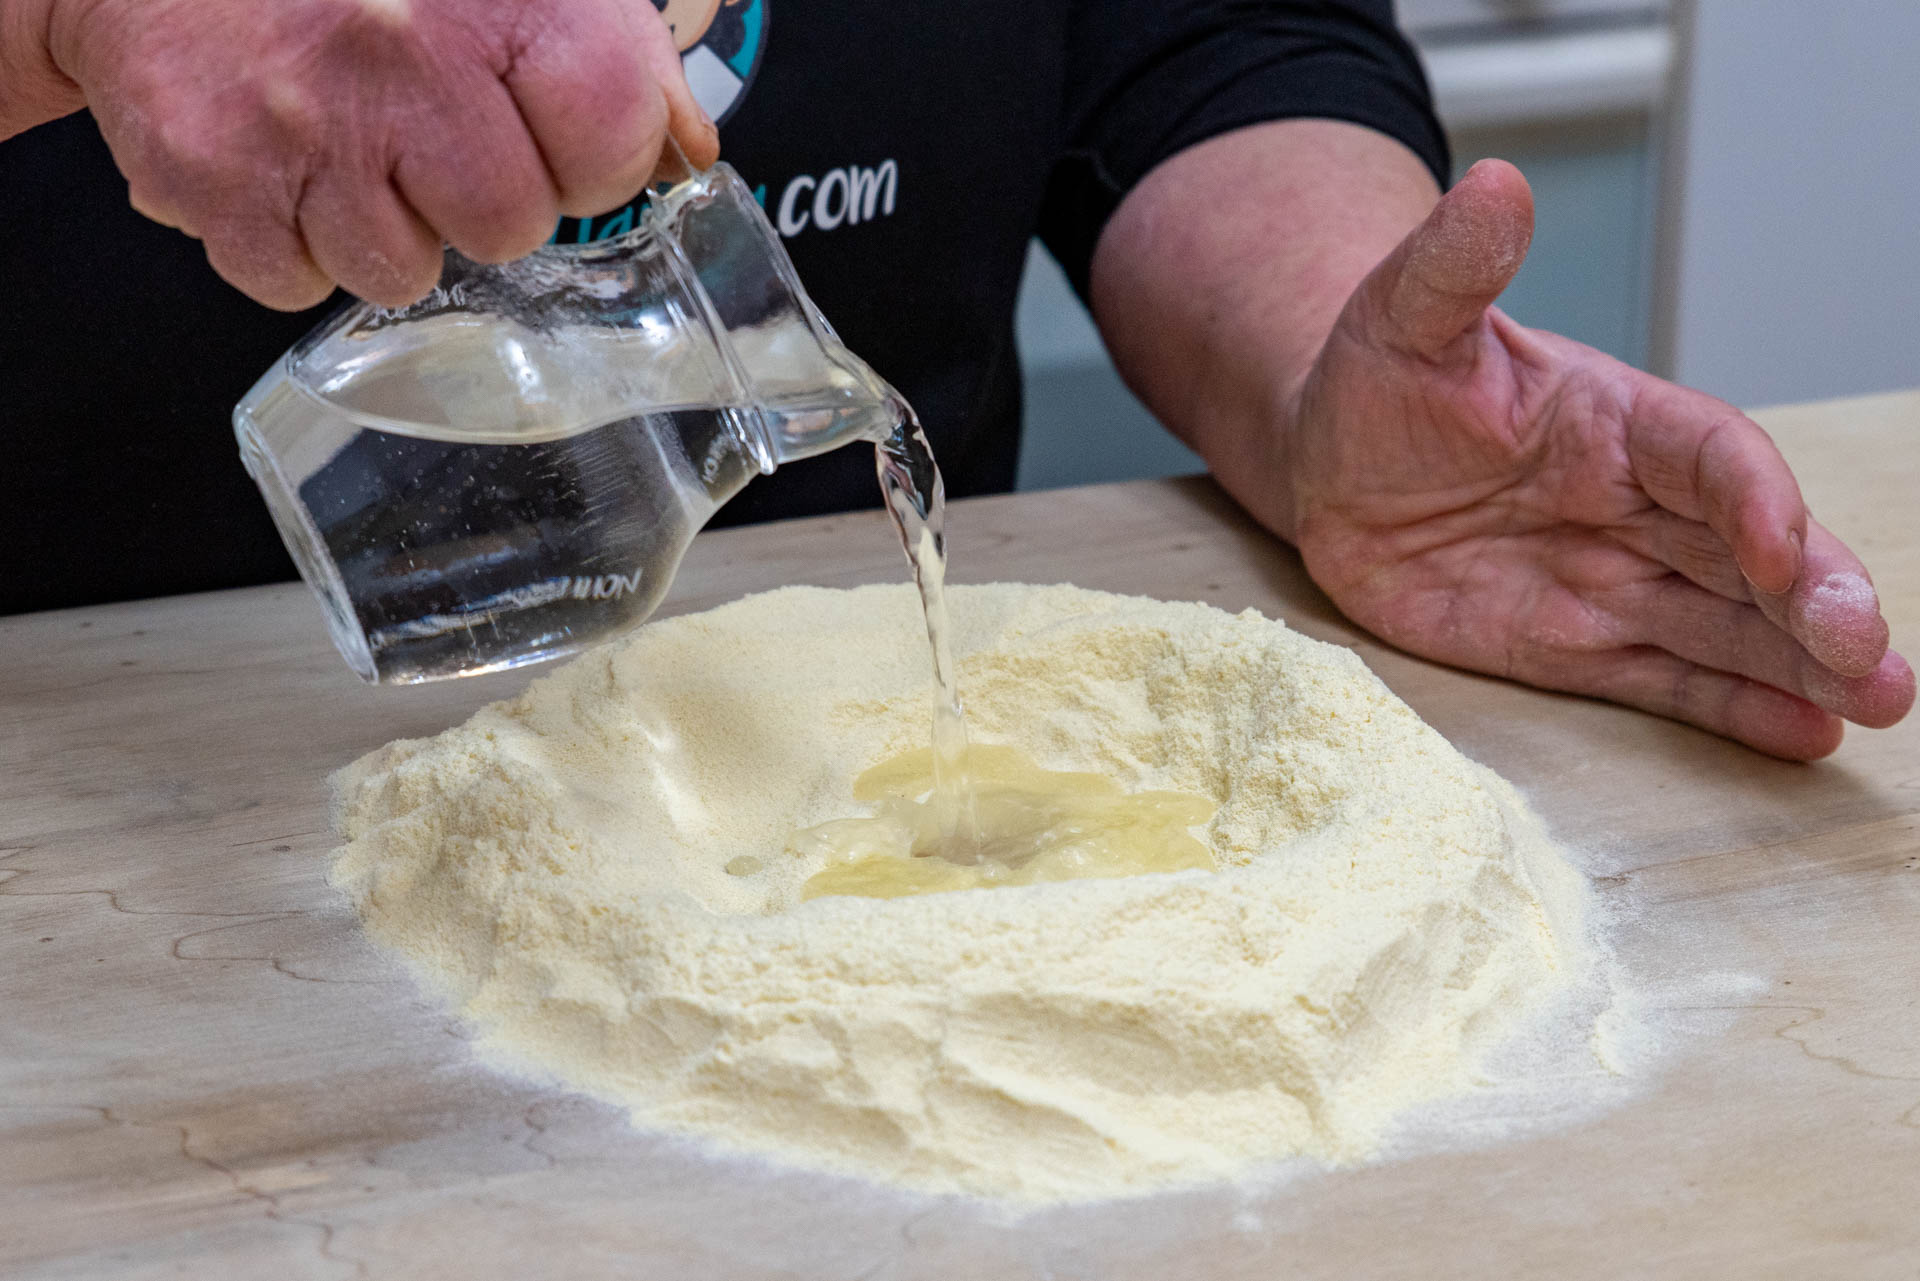
At the center of the fountain, pour half of the water and begin to knead and gradually add all the water. If you want a tastier dough you can add before starting to knead 2 eggs
Knead the dough vigorously for 10 minutes or until the dough is smooth and compact


We form a loaf and wrap it in a slightly damp cloth and let it rest for 15 minutes in the fridge
Take the pasta back, cut it into not very large pieces


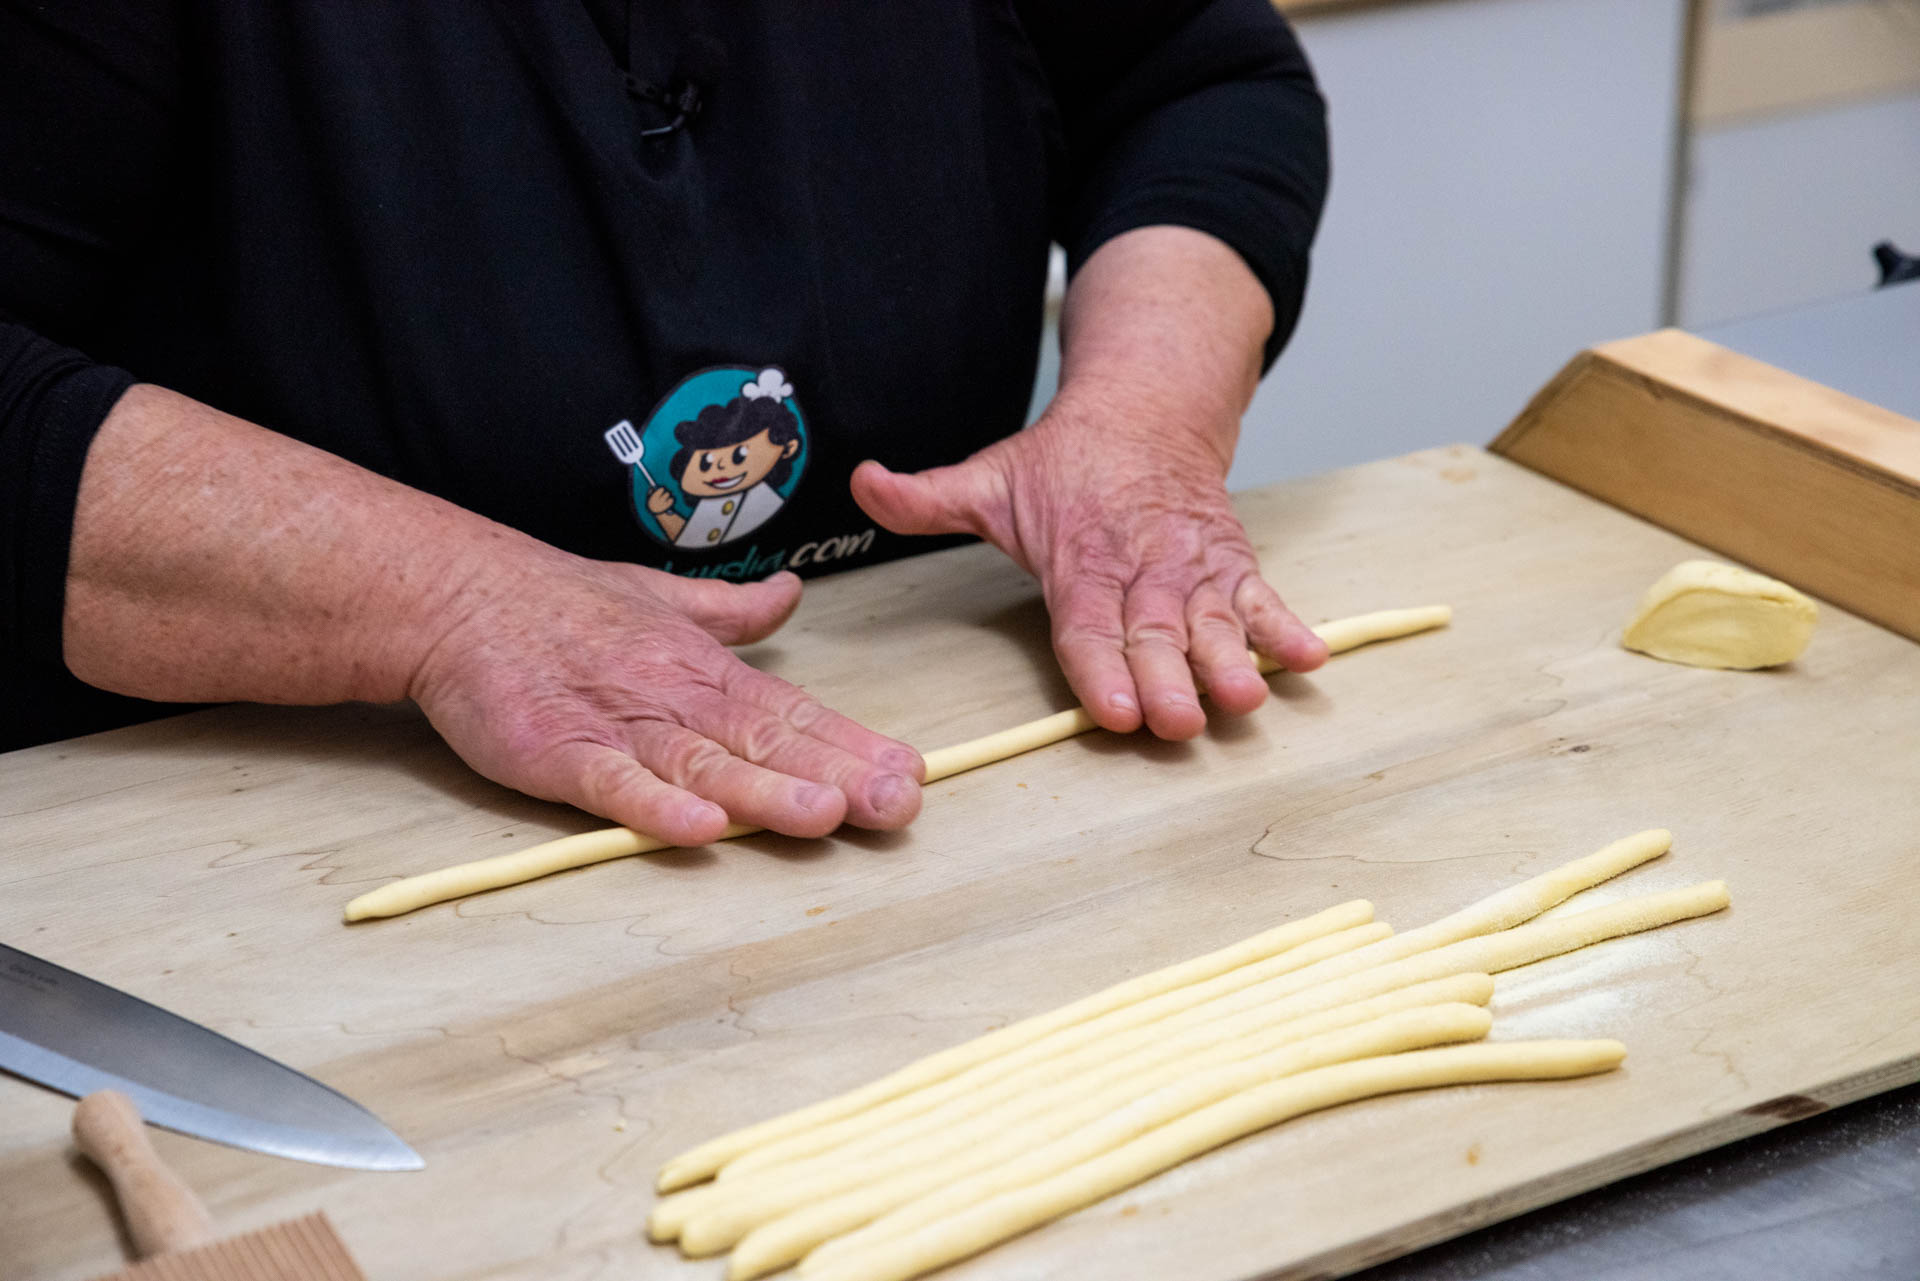
Roll out the dough as if they were breadsticks, from the maximum circumference of a little finger and always sprinkle with semolina to prevent them from sticking
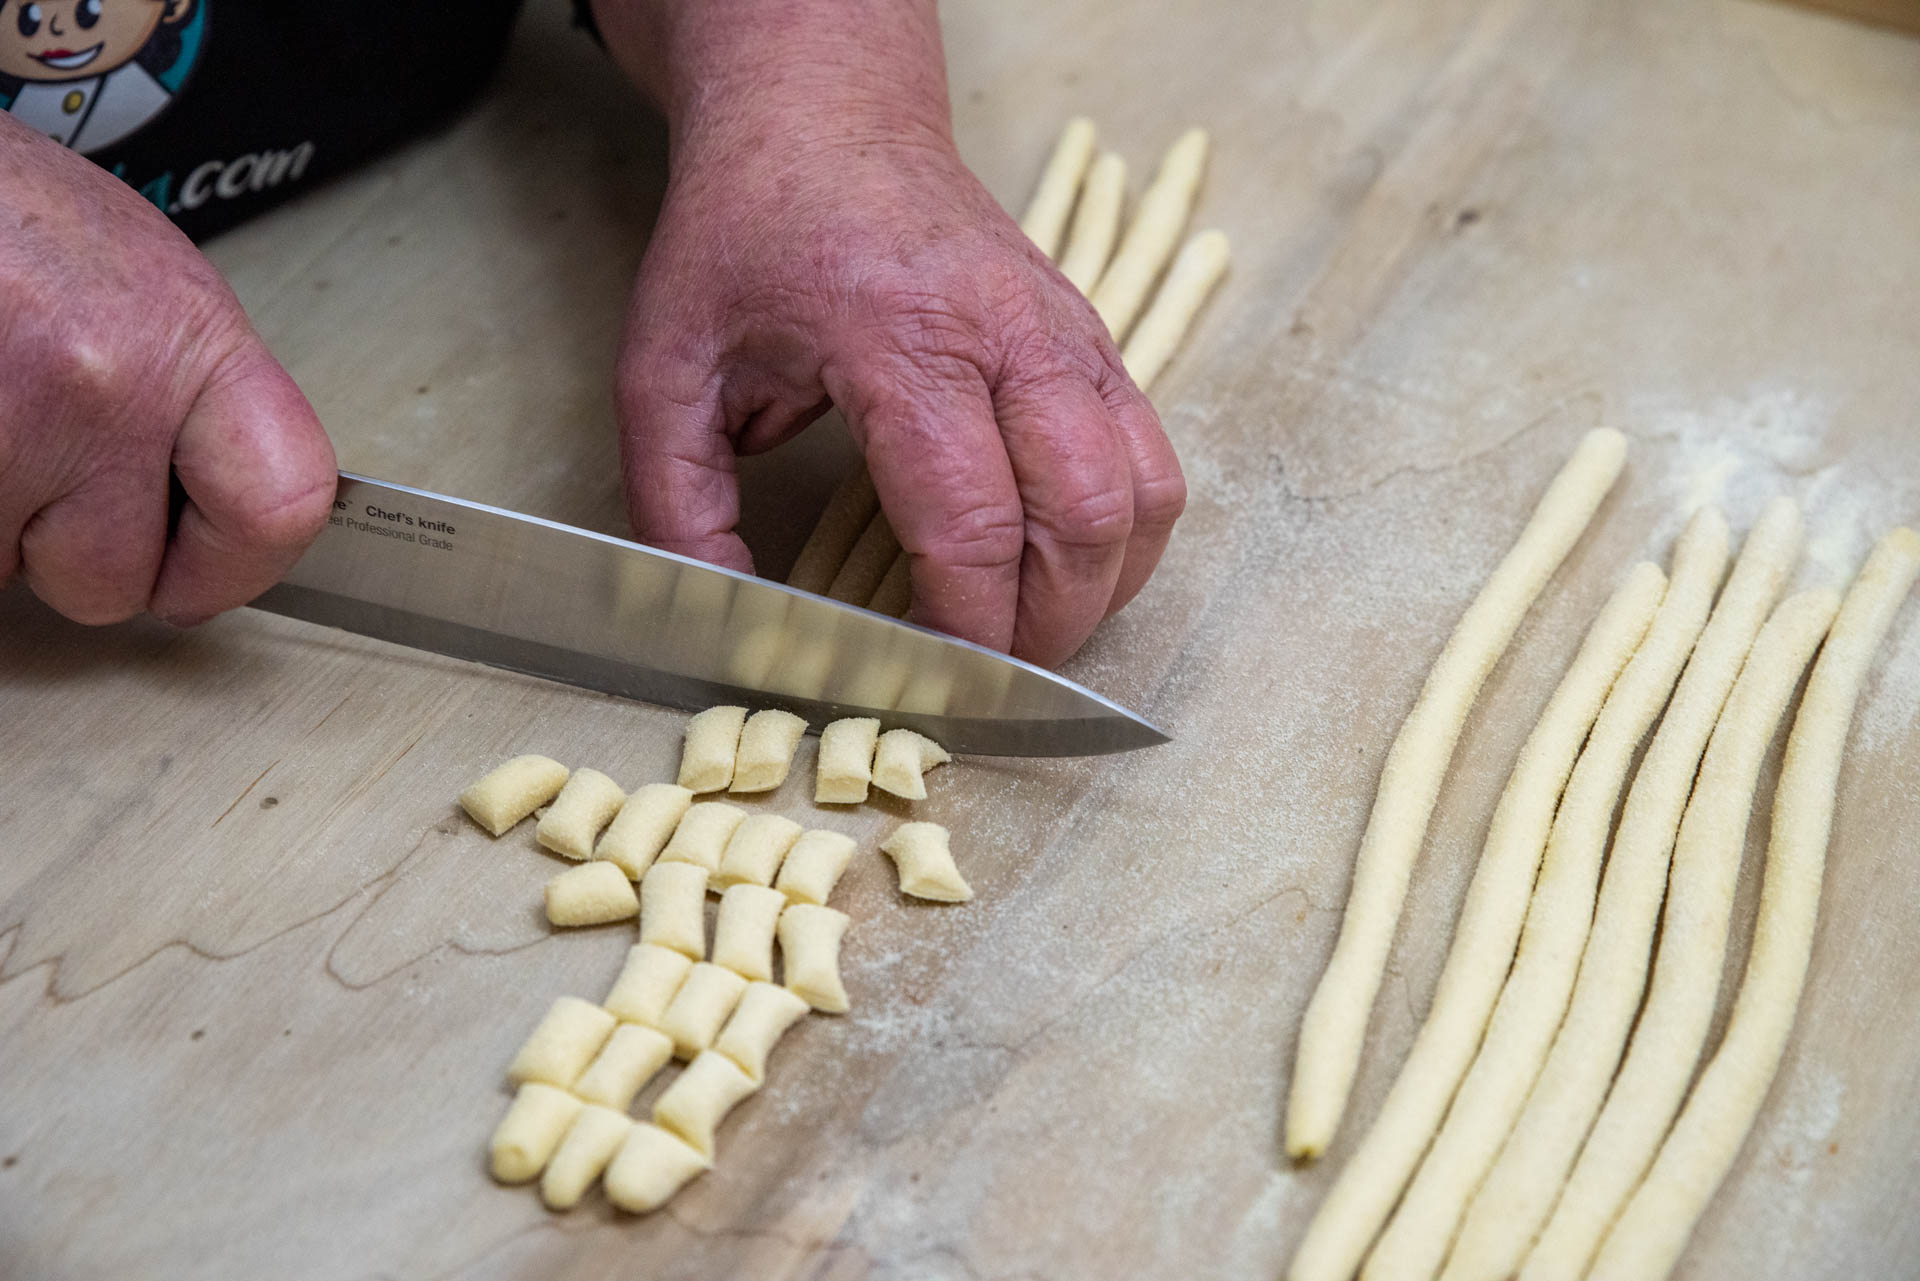
Cut the dough sticks into 2 cm pieces, exaggeratedly like a finger phalanx and always sprinkle with flour


With your fingertips, pull the pasta over the striped cutting board or over the prongs of the fork, spinning them on themselves, as you get them put them on a tray and always sprinkle with flour
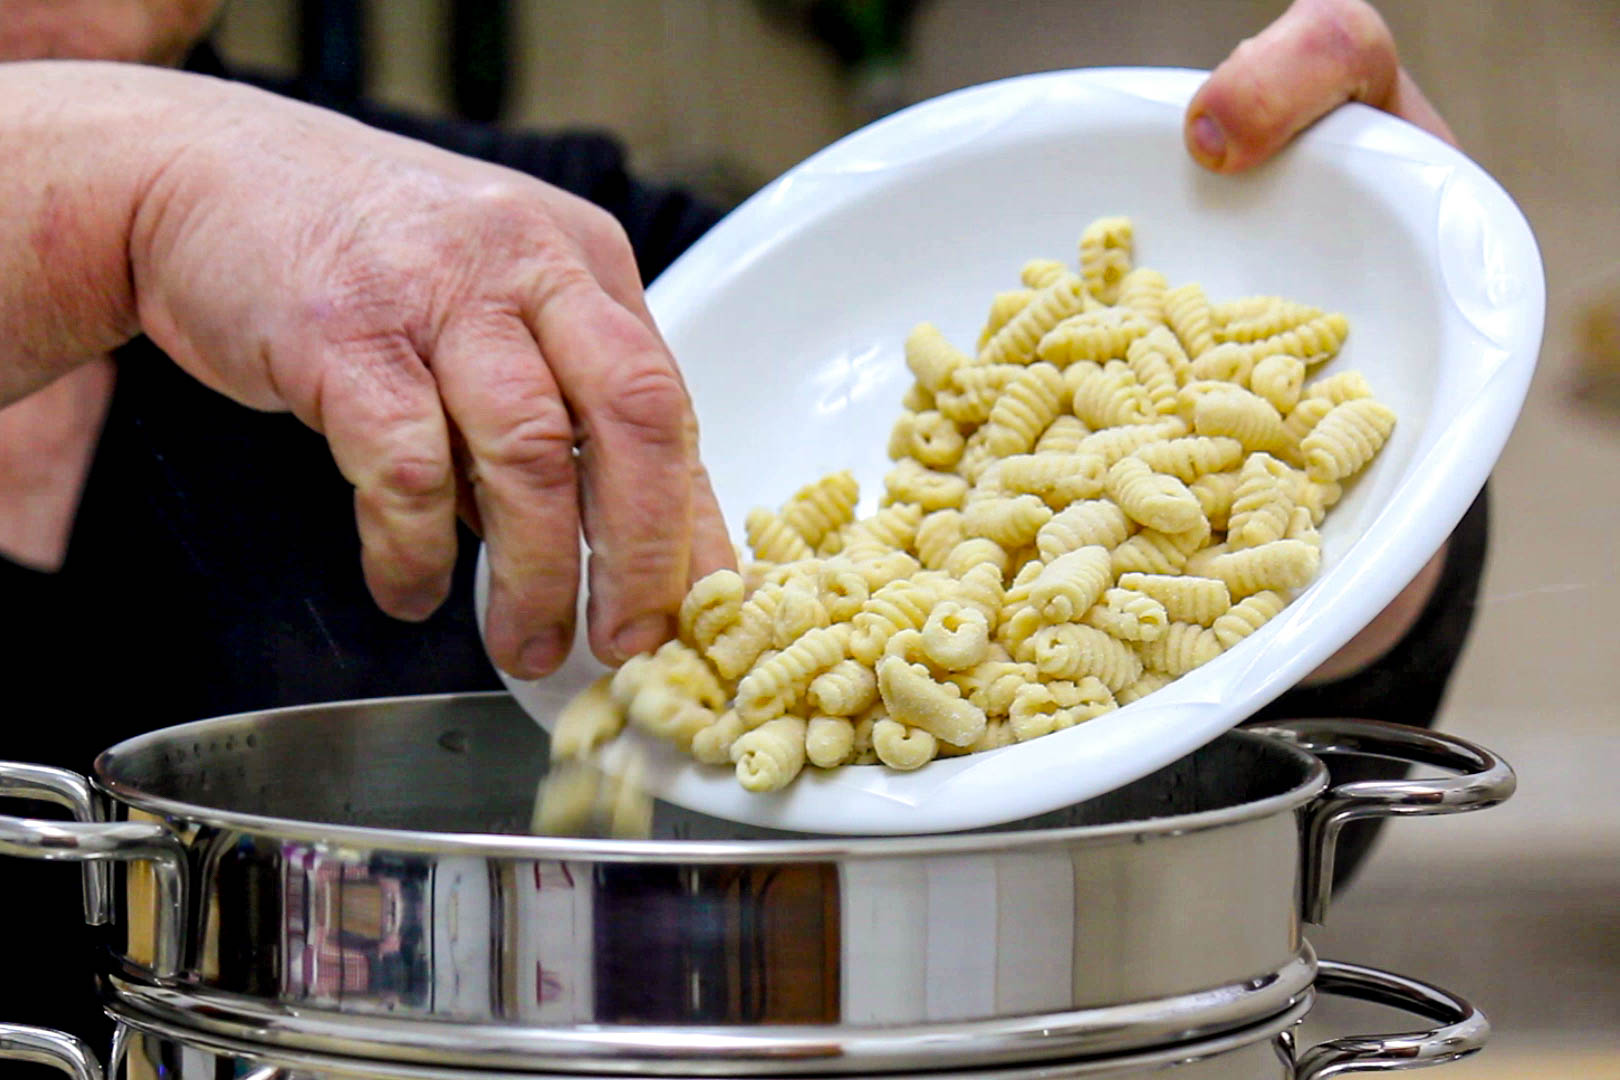
Boil the cavatelli in abundant salted water for 15 minutes, turn occasionally, taste, if they still seem hard continue cooking until you like

Put half ragù in a pan
Drain the Cavatelli, put them in the pan with the ragù and sauté them for a few minutes


Impiattate, spolverate con il formaggio e mettete l’altro sugo. Il piatto è pronto, buon appetito!
Tips
- * If you like cheese on pasta, you can use whatever you prefer but the ideal would be a semi-seasoned goat cheese.
- * The sauce must be degreased, so remove the fat that is on the surface with a spoon or with paper towels.
- It is recommended to season the cavatelli with the hot sauce.
- The flours are not all the same, therefore, when you knead, adjust with water, the dough should not be too hard nor let it be soft.
- Do not leave the pasta uncovered otherwise it will dry out.
- The flour must be strictly semolina.
- *The fountain is the hole made in the flour so as not to let the liquid ingredients come out.
Storage
- The ragù can be kept in the fridge for 2 days, it can also be frozen and stored for 2 months.
- The cooked cavatelli can be kept in the fridge for 2 days.
- Raw cavatelli can be frozen, paying attention to two things:
1) Freeze them in a tray without overlapping them, then put them in containers or envelopes
2) Do not defrost them before cooking them.
Equipment
- Pastry board
- Large bowl
- Knife
- Pot
- Colander
- Skimmer
- Tray
- Fornelli
- Casserole
- Carving knife
- Bowls
- Cooking pan
- Serving dish or baking dish